Home computer construction with SMT parts and PLCCs

For discussing the 65xx hardware itself or electronics projects.
ElEctric_EyE
Posts: 3260
Joined: 02 Mar 2009
Location: OH, USA

Post by ElEctric_EyE »

Image

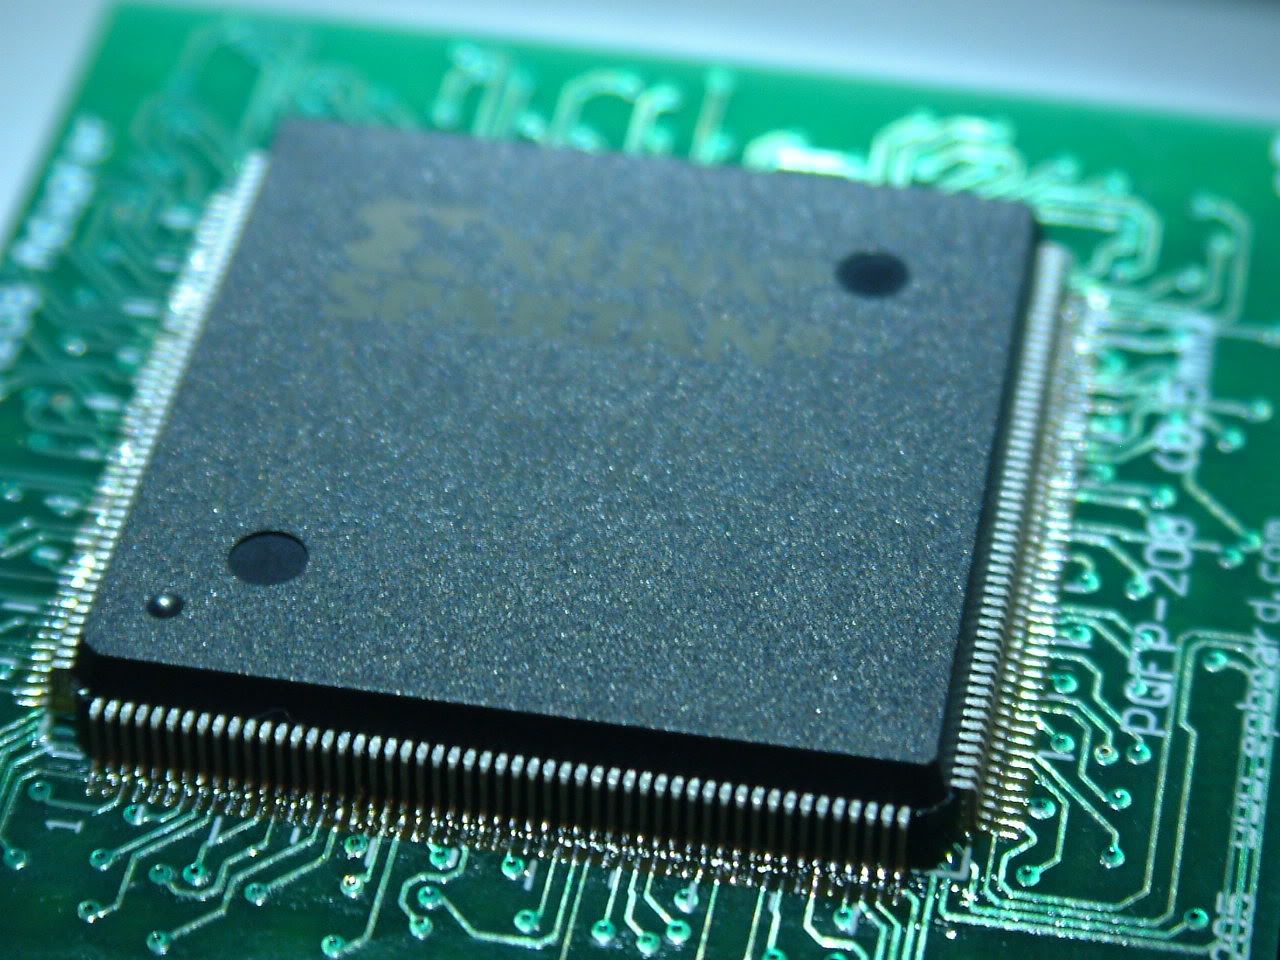
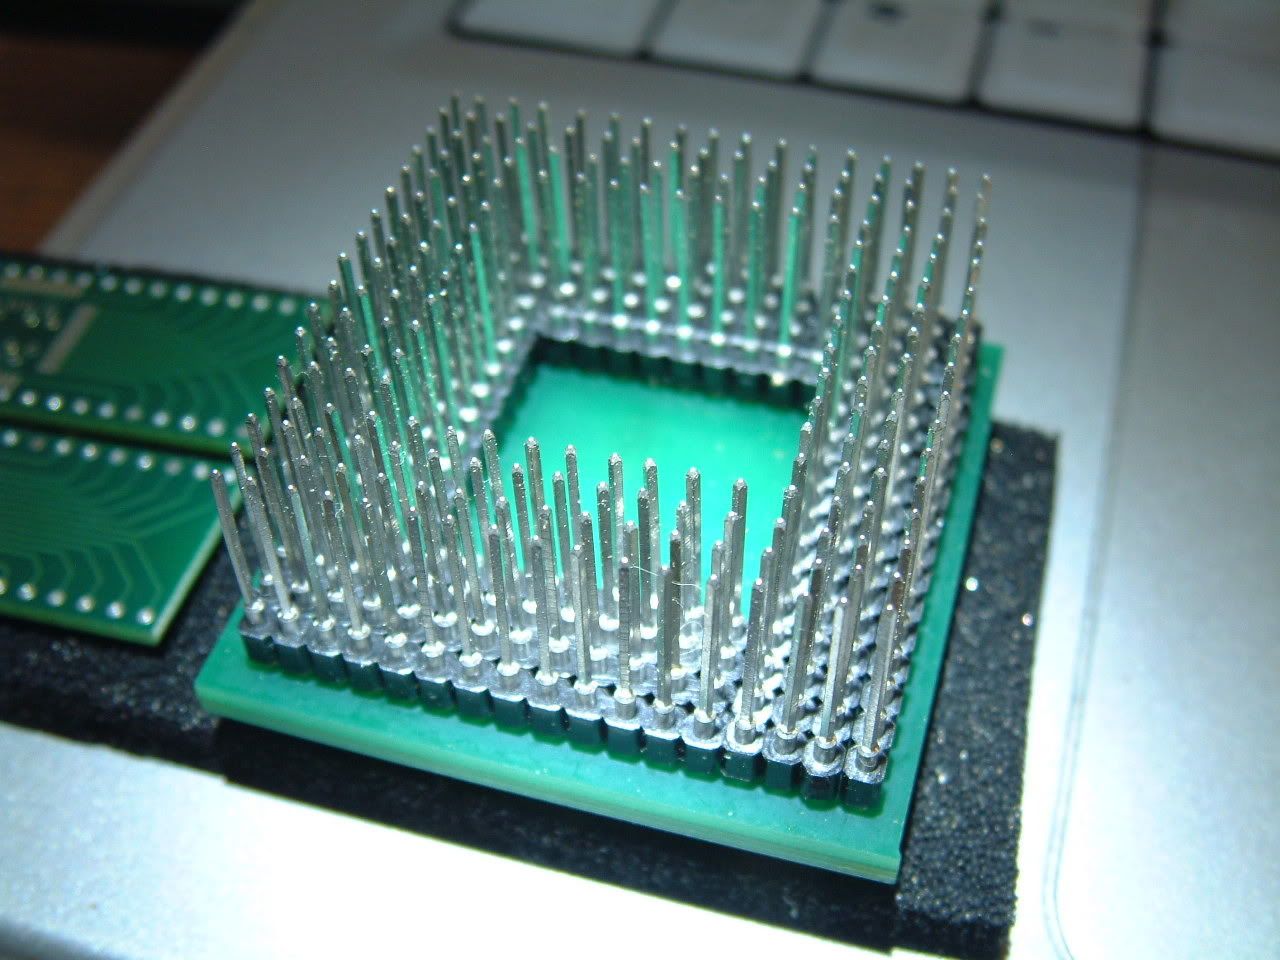
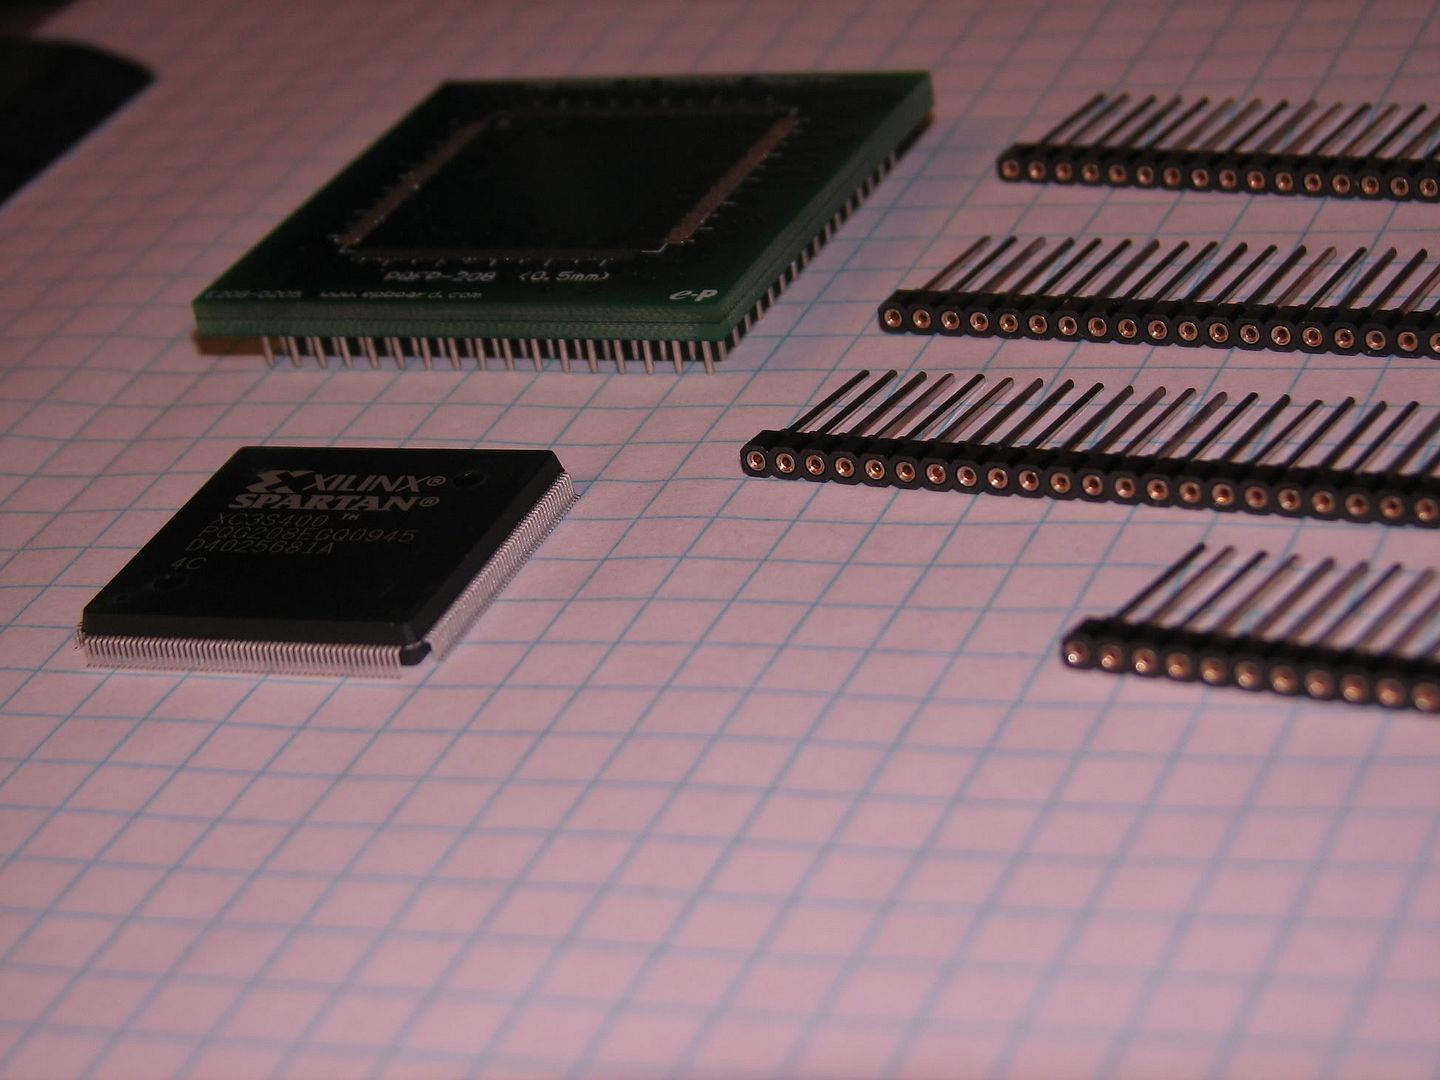
Yesterday I received 2 XC3S400-208PQFP's. .5mm 208 pin PQFP. There is no way to solder this thing! Today I received the 208 pin PQFP to PGA adapter, and in the pic you can see the WW headers, and my intentions...

I did notice the IC is just a bit "springy" when put onto a flat surface. And the pads on the adapter seem to have just the slightest bit of solder. So I guess the idea would be to clamp the IC onto the pads and heat it all up until the solder flows? I do have a mini-torch...

If anyone has experience in this type of intricate work, I'd like to know the details. The socket was $78, the IC was $25. I'm thinking of using a C-clamp and a minitorch without adding solder....
Last edited by ElEctric_EyE on Fri Mar 12, 2010 11:23 pm, edited 1 time in total.
User avatar
8BIT
Posts: 1787
Joined: 30 Aug 2002
Location: Sacramento, CA
Contact:

Post by 8BIT »

You might get some ideas or help from these:

http://www.youtube.com/results?search_q ... +soldering

Good luck!

Daryl
User avatar
GARTHWILSON
Forum Moderator
Posts: 8773
Joined: 30 Aug 2002
Location: Southern California
Contact:

Post by GARTHWILSON »

Instead of trying mechanical means, I might skip the clamp, put the board on a pan or thick piece of sheet metal on hot plate and bring it up to a little below the melting point of the solder, and use a heat lamp to finish it up. Do not use a torch! If you need more solder, get a solder paste syringe from Chip Quick (I think Digi-key carries it) and first apply it to the pads before adding the IC and heating it up. With the right amount of solder paste, it should pull into the pads and not leave any solder where it shouldn't be.
OwenS
Posts: 105
Joined: 26 Jul 2007

Post by OwenS »

Position the chip, then heat up your iron, and apply solder (and flux) liberally. Don't worry about bridging pins. Then, once all the pins are soldered down, take your solder wick and it will suck the excess and bridges away (Without removing the actual bonding solder - solder binds more tightly to tin legs & PCB than solder wick)

In general, tack down one corner in place then start at the oposite
ElEctric_EyE
Posts: 3260
Joined: 02 Mar 2009
Location: OH, USA

Post by ElEctric_EyE »

Daryl, the youtube video was very informative. I watched it a couple of times, and headed out this morning to get paste flux, and solder wick (braid as radio shack calls it). It was a sinch. Much, much easier than I thought. I didn't have to add solder, there was enough on the adapter. I had to use the wick once when the solder built up on the tip and bridged 2 pins. Took me less than 5 min's total. The hardest part is precisely lining up the pins, on all four sides, to the adapter.

I was intimidated because I had tried a couple weeks ago to solder a 44 pin QFP (no where near the fine pitch of this 208 pin QFP) without using flux, just rosin core solder, and it was bridging pins like mad, and looked sloppy. I was using a solder sucker to unbridge the solder. I went back over it today after adding some flux, and it cleaned it right up...

Owen, you said it, a liberal amount of flux is mandatory for success... I wish I could take better close up pictures.
Image
Image

Garth, I can't believe I was thinking about using a torch, (it was a small mini butane torch though, still...)

edit:
Thanks for the pointers all. (No pun intended with the last pic ;)
User avatar
BigDumbDinosaur
Posts: 9425
Joined: 28 May 2009
Location: Midwestern USA (JB Pritzker’s dystopia)
Contact:

Post by BigDumbDinosaur »

ElEctric_EyE wrote:
I wish I could take better close up pictures.
Smaller ones would help. :)

As for the slobbering job, it almost looks like it came from the factory.
x86?  We ain't got no x86.  We don't NEED no stinking x86!
ElEctric_EyE
Posts: 3260
Joined: 02 Mar 2009
Location: OH, USA

Post by ElEctric_EyE »

Thanks! Probably my last post on this thread... Hope it helps those so inclined for home brew.
ElEctric_EyE
Posts: 3260
Joined: 02 Mar 2009
Location: OH, USA

Post by ElEctric_EyE »

Sorry to dig up this old thread yet once again, but...

There's another company which deserves mention here. I forgot to do so in regards to my last pic, with the 208-pin QFP version of the Spartan 3...

My current project uses a Spartan 2 100-pin VQFP PGA adapter and also a 54-pin TSOP II PGA adapter, made by EPBoard, which you can see here: (1st and 3rd sockets down), viewtopic.php?t=1370&postdays=0&postorder=asc&start=172

They have excellent timely service, I usually receive the order 3-5 days after placing it online. Not sure about a minimum order, maybe $50US?

Don't confuse PGA with BGA. These are "through-hole" QFP adapters that can fit wire-wrap headers, check out the pre-mount 208-pin QFP pics: viewtopic.php?t=1492&start=32

Visit the site and check out the diag's:

http://epboard.com/eproducts/protoadapt ... PGAAdapter

-EyE
ElEctric_EyE
Posts: 3260
Joined: 02 Mar 2009
Location: OH, USA

Re: Home computer construction with SMT parts and PLCCs

Post by ElEctric_EyE »

Recently, I found it very frustrating to be limited to 144-pin QFP's. So, I've been looking at some IR "welders" to solder BGA's. Found one today for about $150US. I figure I could practice on QFP's or old motherboards and work my way up to designing with 1mm BGAs. I imagine the tough part would be accurately placing the part.
Here's a link to the one I found. There's an annoying little video there too. Anyone tried using one before?

EDIT: A related thread on BGA soldering in the Programmable Logic section. BTW, I :lol: @myself on the Virtex 6 comment in there. Those IC's cost more than a new car!!! There are more capable IC's though, even just a larger 484-pin Spartan 6 in 1mm BGA, that are reasonable prices, i.e. <$50. Scratch that :lol: . The Virtex-6 IC is the XC6VLX75T-1FFG484C @ $530ea. Mucho deneiro, but still in range for a most powerful 484-pin FPGA!
Re-EDIT: The most powerful Spartan 6 in 484-pin package is the XC6VLX130T, although that weighs in @$767!
Post Reply