Hey All,
Been on this forum for quite some time (since the beginning of my venture into 6502). I have finally completed my project in it's entirety and wanted to share it with you all, especially due to all the tips and tricks I've learned from the community along the way. My project will be completely open sourced (for the most part, I just have to upload my KiCad schematics and gerber files to github). Here was my design guidelines and the things I was able to tackle.
For the Main System- 6502 CPU
- 32k SRAM
- Real Time Clock
- 6522 VIA
- PS2 Keyboard Support
- 16k ROM
- Custom Monitor
- EhBasic Ported
- SD Card support (Load/Save)
For the Graphics- Custom VGA GPU via FPGA
- Character based graphics
- 6-bit color
- Dual Port RAM (4k) for VRAM
- 32k SRAM for character RAM with programmable characters up to 256
For development- Custom ROM Flasher
- Device for stepping through the 65c02 and viewing ADDR bus & Data Bus
- cc65 target for compiling C code against it
Keep in mind when I started this project, I had zero knowledge of VHDL & zero knowledge of 6502 assembly. By trade I'm a network engineer with background in Computer Science and I have always loved tinkering with electronics as a hobby. I cannot believe as I look back at this list that I put out for myself that I was able to complete all the things listed in any way shape or form. I knew my sights were ambitious but with enough stick-to-itiveness I guess anything is possible. If you do get a chance to look over my VHDL code for my VGA GPU and my 6502 assembly for my Monitor please keep in mind
I am a newbie so you very may well come across areas that could cause you to scratch your head. For many parts of this it was my first time ever developing/engineering for these things. I can express how much I have learned doing this. If you are on the brink of starting a project and you say to your self, "Hmmm, I'm not sure I can do that." just try. You will learn more failing at what you don't know than continuing to tinker with what you do know.
Here are some of my milestones in pictures -
First time getting HSYNC and VSYNC working on the FPGA to get a 640x480 signal recognized by a monitorAttachment:
File comment: FPGA Start
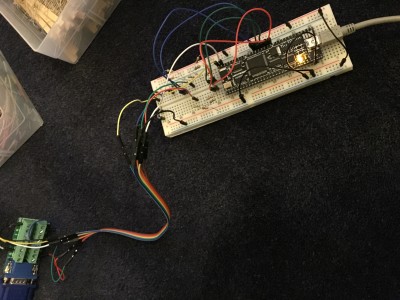 IMG_6739.JPG [ 1.66 MiB | Viewed 4960 times ]
I got 6-bit color working! Displaying the full paletteAttachment:
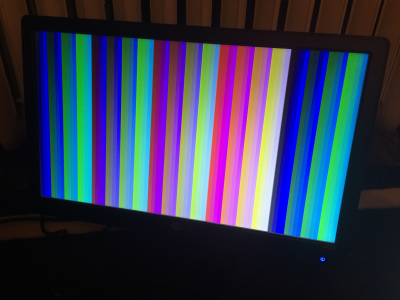 2.png [ 8.15 MiB | Viewed 4960 times ]
I have my pseudo registers working, and able to tell the VGA GPU to save my Characters to Character SRAMAttachment:
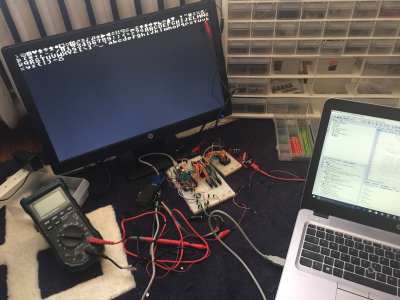 3.png [ 9.15 MiB | Viewed 4960 times ]
The Dual Port RAM is now interfacing with a VGA debugging device I created, It is accurately showing text on screenAttachment:
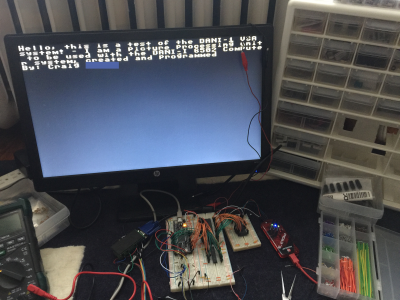 4-ed.png [ 9.33 MiB | Viewed 4949 times ]
The day I placed the 65C02 on the breadboard, exciting momentAttachment:
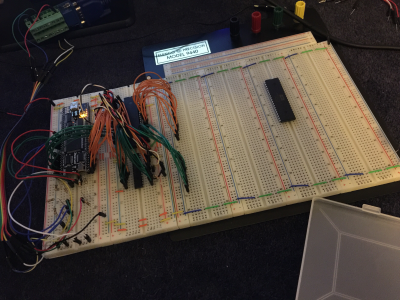 5.png [ 10.85 MiB | Viewed 4960 times ]
Adding the SRAM, ROM, and the Glue Logic to select everythingI never really realized how important placement is on a bread board until months later
Attachment:
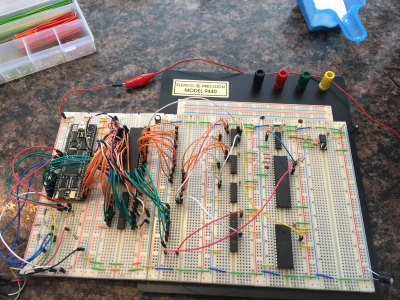 6.png [ 11.68 MiB | Viewed 4960 times ]
Wiring the busses upMonths later I would realize using this type of wiring was horrible, I wish I cut hookup wire and did it all properly. All part of learning though
Attachment:
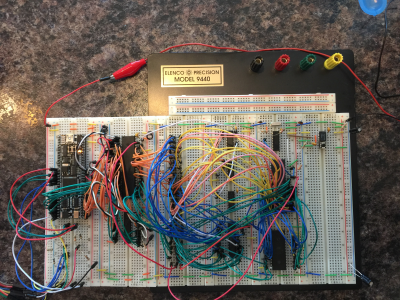 7.png [ 12.06 MiB | Viewed 4960 times ]
Custom Debugging boardI created this custom debugging board to allow me to step the 65C02 and look at what is on the data bus as well as the address line through the 7 Segment LEDs
Attachment:
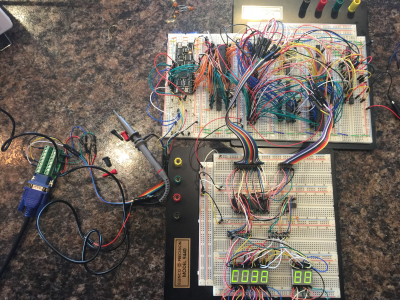 8.png [ 13.04 MiB | Viewed 4960 times ]
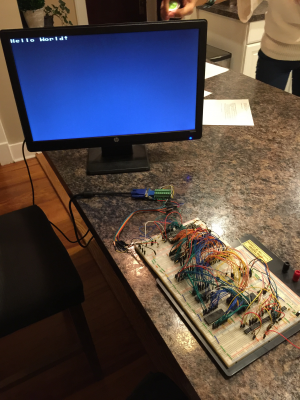
Hello WorldAnother huge moment for me, getting some 6502 code assembled and have it print Hello World on screen
Attachment:
 9.png [ 9.98 MiB | Viewed 4960 times ]
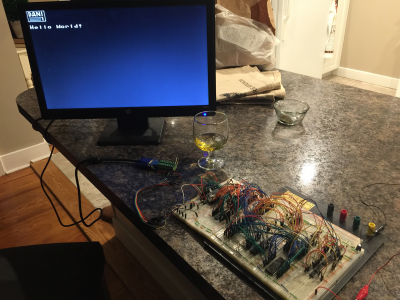
The beginning of DANI-I MonitorIt had ROM functions for printing strings, clearing the screen and showing simple tile based graphics
Attachment:
 10.png [ 9.61 MiB | Viewed 4960 times ]
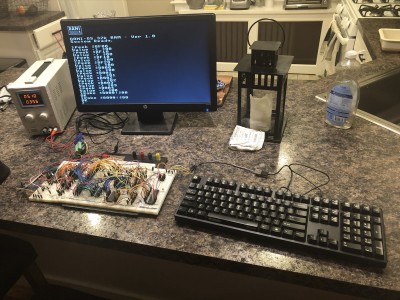
Keyboard Support!At this point I had placed the VIA, used a Port on it, Set up a PIC16F1509 to translate keyboard scan codes into bytes that could pull the interrupt on the VIA and send it to an input buffer. I implemented simple commands like Peek & Poke and the monitor was really taking shape.
Attachment:
File comment: Keyboard Support
 11.jpeg [ 976.05 KiB | Viewed 4960 times ]
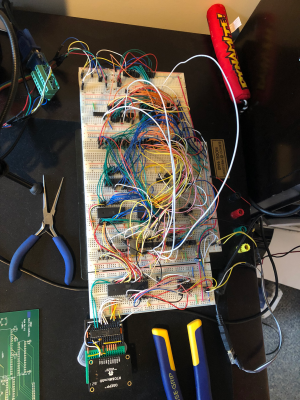
Drive & RTC ImplementedAt this point the sky was the limit, I had implemented a PIC18F that would communicate over i2c to a RTC & over SPI to a SDCard. Then a simple protocol that could talk to it over the VIA port. Suddenly the world opened up as I was able to Read / Write to SD Cards & have a working clock. Shortly after I ported over EhBasic and implemented LOAD & SAVE commands
Attachment:
 12.png [ 4.56 MiB | Viewed 4949 times ]
Version 2.0 Of The DANI-I MonitorIntroduced EhBasic, DUMP Command, WRITE commands, JMPR, LOAD, SAVE, DIR - basically everything i needed to load programs off of SDCARD as a binary, or from basic and execute them
Attachment:
File comment: DUMP
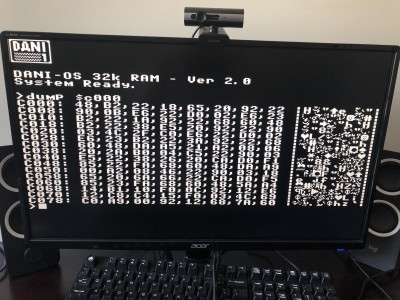 dump.JPG [ 4 MiB | Viewed 4960 times ]
Attachment:
File comment: Directory
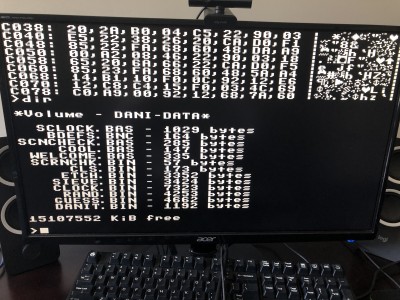 13.JPG [ 3.97 MiB | Viewed 4960 times ]
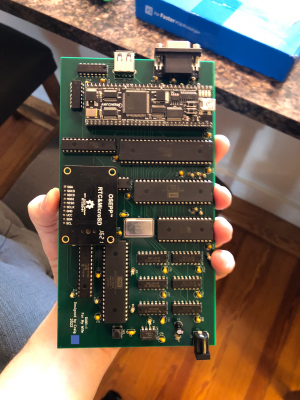
KiCAD & SchematicsProbably the most fulfilling point of this project was when these guys came in, I designed, routed and sent off for PCB's to be printed. I checked the mail every day for them to come in.
Attachment:
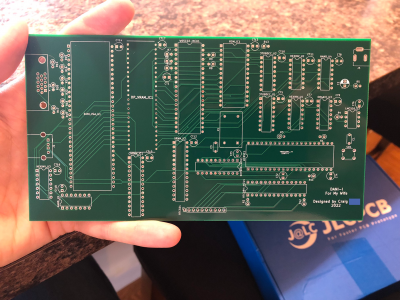 14.png [ 4.19 MiB | Viewed 4950 times ]
Solderfest 2022Attachment:
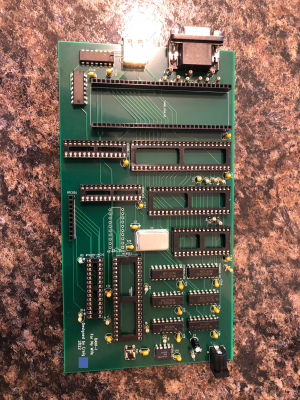 15.png [ 6.01 MiB | Viewed 4950 times ]
Attachment:
 16.png [ 4.06 MiB | Viewed 4950 times ]
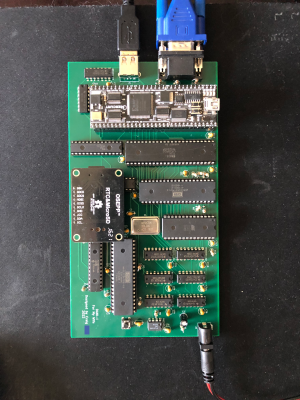
The payoffHooking it up and booting up for the first time was insanely nerve wracking for some reason. It felt great to finally see this through tho.
Attachment:
 17.png [ 14.13 MiB | Viewed 4950 times ]
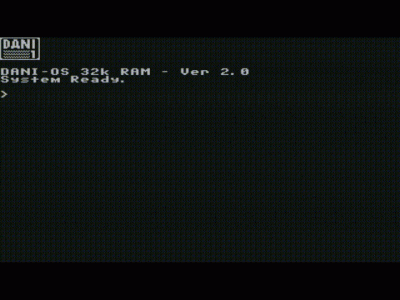
In action... via gif (Click on me to see it work!)At this point I forked CC65 and created a target for my system. I started to build all sorts of small projects and games in C. Seeing it working and interfacing with my ROM functions felt out of this world
Attachment:
 DANI-I.gif [ 15.71 MiB | Viewed 4960 times ]
What an incredible feeling guys. Like I said I am such a complete newbie at this but it was such a great learning experience. I will add my github repo's below, and as I said earlier, try not to laugh too much at my code, I am no way shape or form an experienced 6502 developer. And please leave me some questions or comments I'd love to discuss some things i've learned along the way.
Github: DANI-I-SYSTEM-ROMGithub: DANI-I-Keyboard Controller FirmwareGithub: DANI-I-Drive Controller FirmwareGithub: DANI-I-VGA VHDL FPGA SourceGithub: CC65 Fork with DANI-I Support as a TargetAttachment:
File comment: PDF of the DANI-I SBC Schematics
 DANI-I SBC.pdf [476.41 KiB]
Downloaded 85 times


