Re: Vulcan-74 - A 6502 Retro MegaProject
Posted: Mon Jun 15, 2015 2:33 am
Thanks again for the comments!
Had some time today, so I soldered the SRAMs to the sockets.
So far, I plan to use the 512K SRAMs as follows...
512K #1 = Front / Back Video buffer (120K used)
512K #2 = Front / Back Video buffer (120K used)
512K #3&4 = 1024K Graphics memory dedicated to GPU block copier
512K #5&6 = 1024K Sample memory dedicated to sound system
512K #7 = Multiplication and Division lookup tables for dedicated ALU
Not sure what to do with SRAM #8 yet, but no doubt it will find a home.
Hope everyone likes photos, I take a lot!
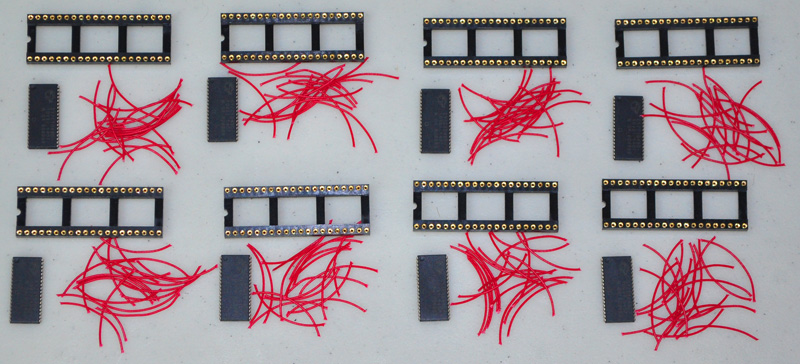
SRAMs, sockets, and a bunch of wires.
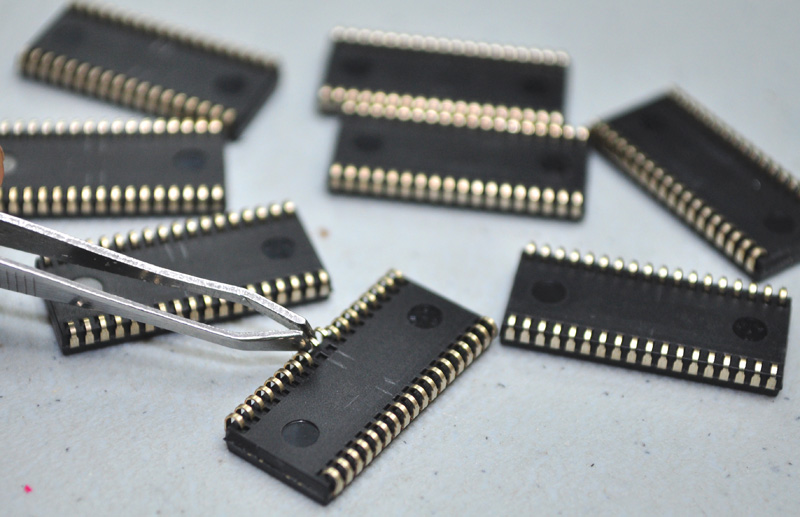
Bending the GND and VCC pins for direct connection.

Ready for mounting to the sockets.
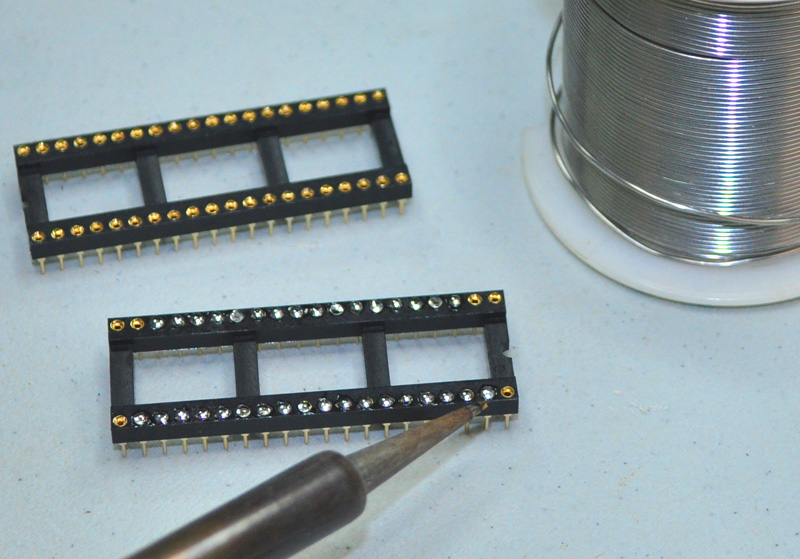
Solder balls to accept the wires.
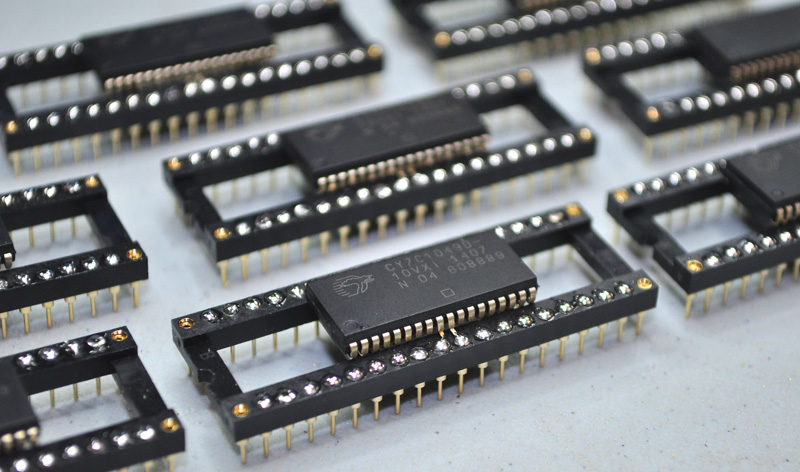
SRAMs mounted to the sockets by 4 bent pins.
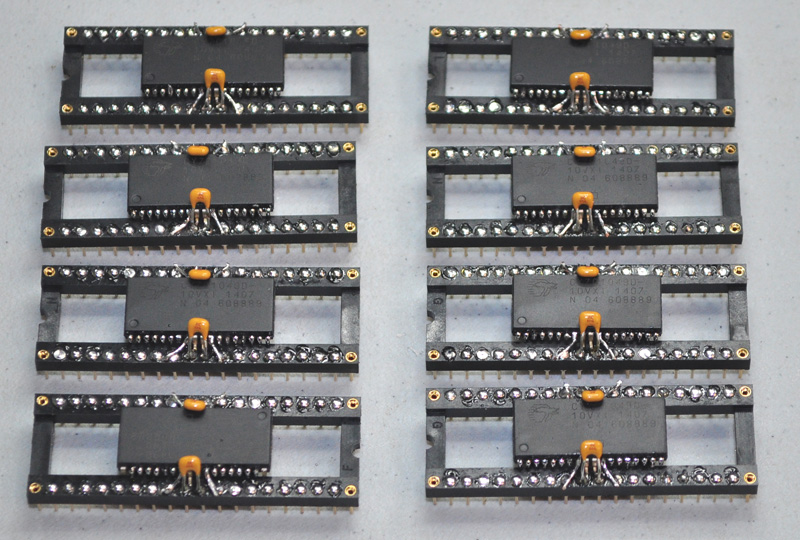
Decoupling caps added for good measure.
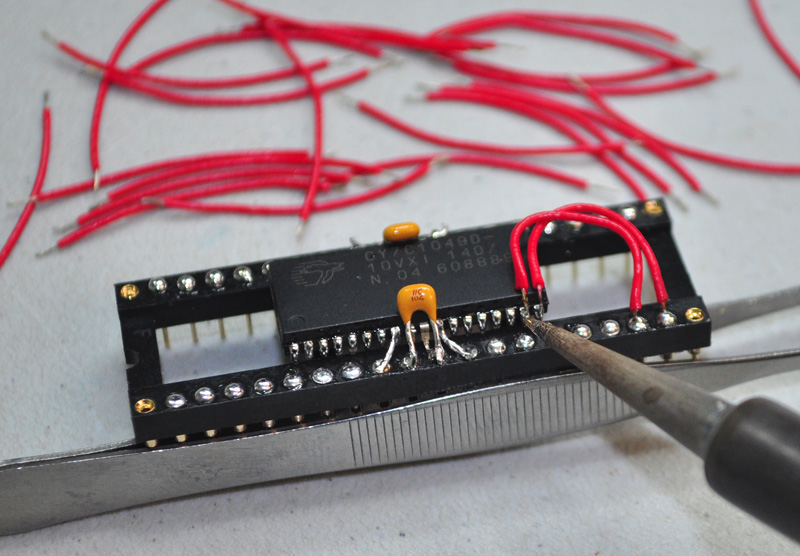
Adding wires to the pins and socket.
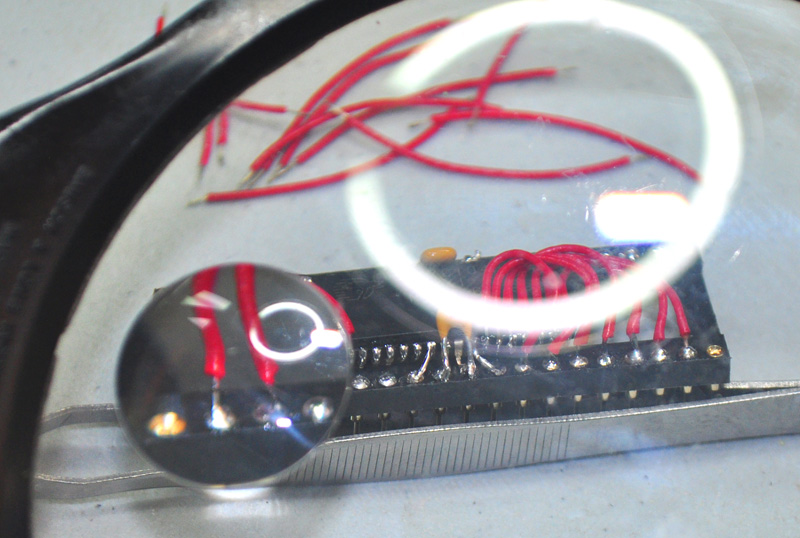
Quality control using a magnifier.
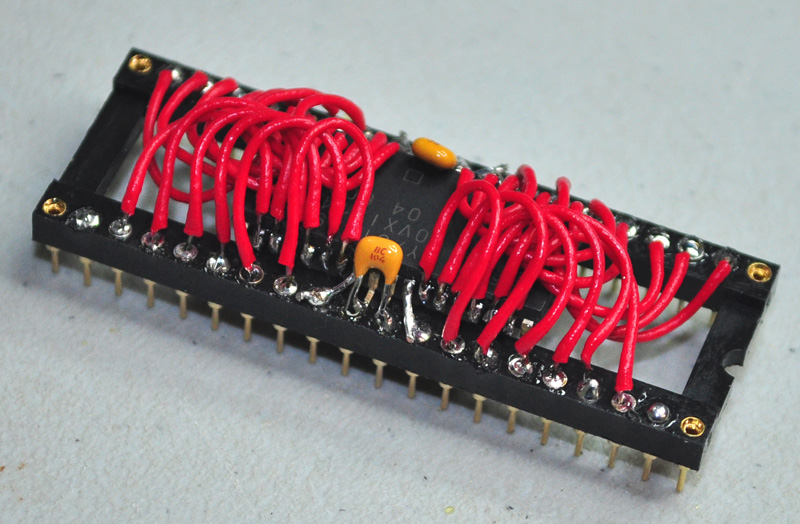
One SRAM done, only 7 more to go!
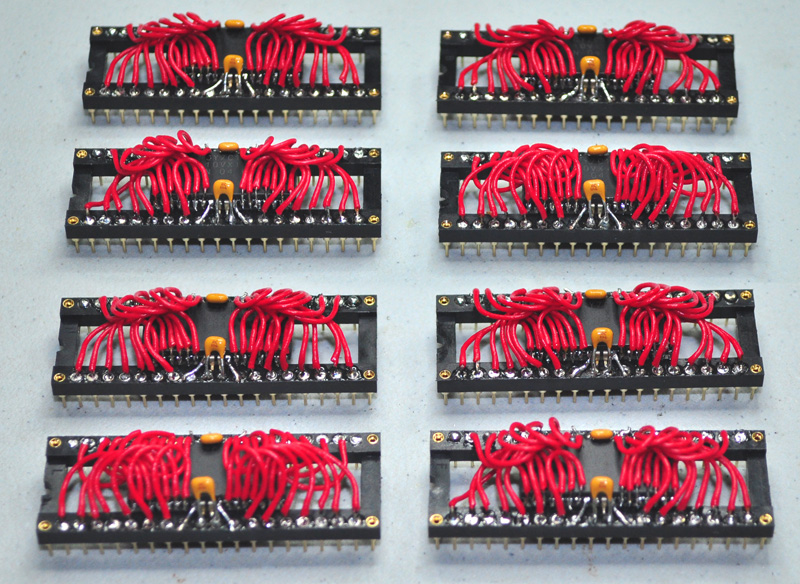
4 Megs of 10ns SRAM ready for the breadboard!
Ok, that's it for now. I only do this on rainy days, so not sure when the next post is coming.
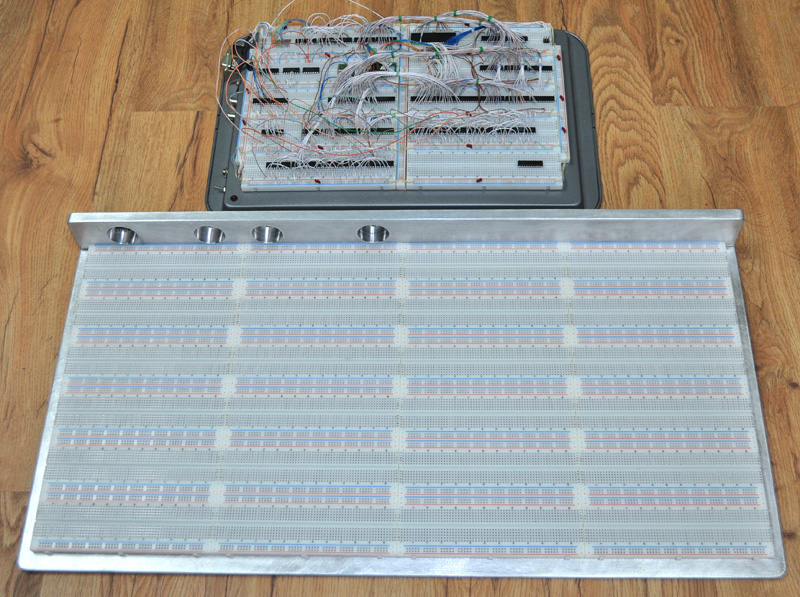
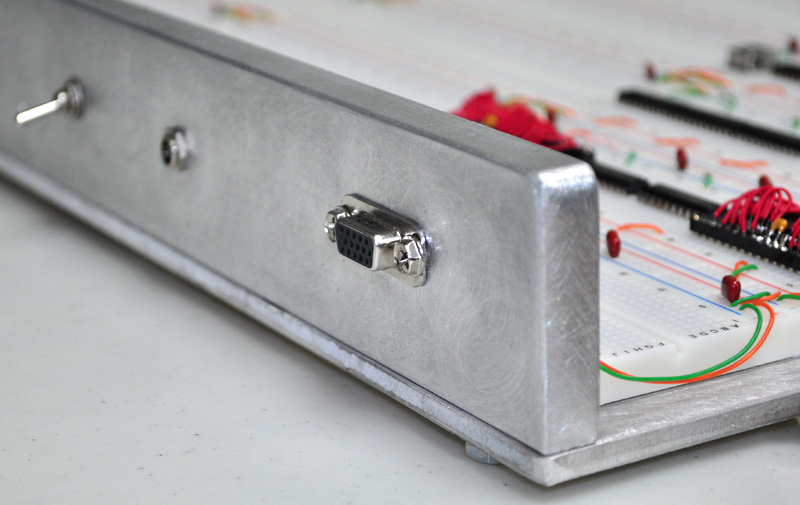
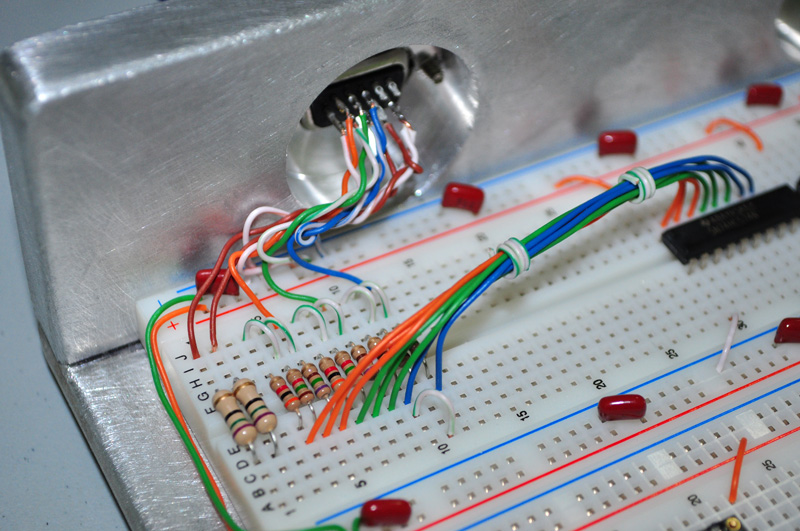
Will be adding ports to the monster breadboard next and then the layout of chips shall begin!
Besides the SRAM and 65C02, every other IC will only be 74HC logic.
Going to be fun to see how far this can go!
Cheers,
Radical Brad
Had some time today, so I soldered the SRAMs to the sockets.
So far, I plan to use the 512K SRAMs as follows...
512K #1 = Front / Back Video buffer (120K used)
512K #2 = Front / Back Video buffer (120K used)
512K #3&4 = 1024K Graphics memory dedicated to GPU block copier
512K #5&6 = 1024K Sample memory dedicated to sound system
512K #7 = Multiplication and Division lookup tables for dedicated ALU
Not sure what to do with SRAM #8 yet, but no doubt it will find a home.
Hope everyone likes photos, I take a lot!
SRAMs, sockets, and a bunch of wires.
Bending the GND and VCC pins for direct connection.
Ready for mounting to the sockets.
Solder balls to accept the wires.
SRAMs mounted to the sockets by 4 bent pins.
Decoupling caps added for good measure.
Adding wires to the pins and socket.
Quality control using a magnifier.
One SRAM done, only 7 more to go!
4 Megs of 10ns SRAM ready for the breadboard!
Ok, that's it for now. I only do this on rainy days, so not sure when the next post is coming.
Will be adding ports to the monster breadboard next and then the layout of chips shall begin!
Besides the SRAM and 65C02, every other IC will only be 74HC logic.
Going to be fun to see how far this can go!
Cheers,
Radical Brad